Filters are a useful way to automate many functions in email that would otherwise require significant amounts of effort and time. Like macros, but for email, filters have a wide range of functionality that could be useful from anyone from a student to a full-time employee. This guide covers how to edit and delete existing filters. To create a filter, refer to the guide on how to create a filter in Gmail.
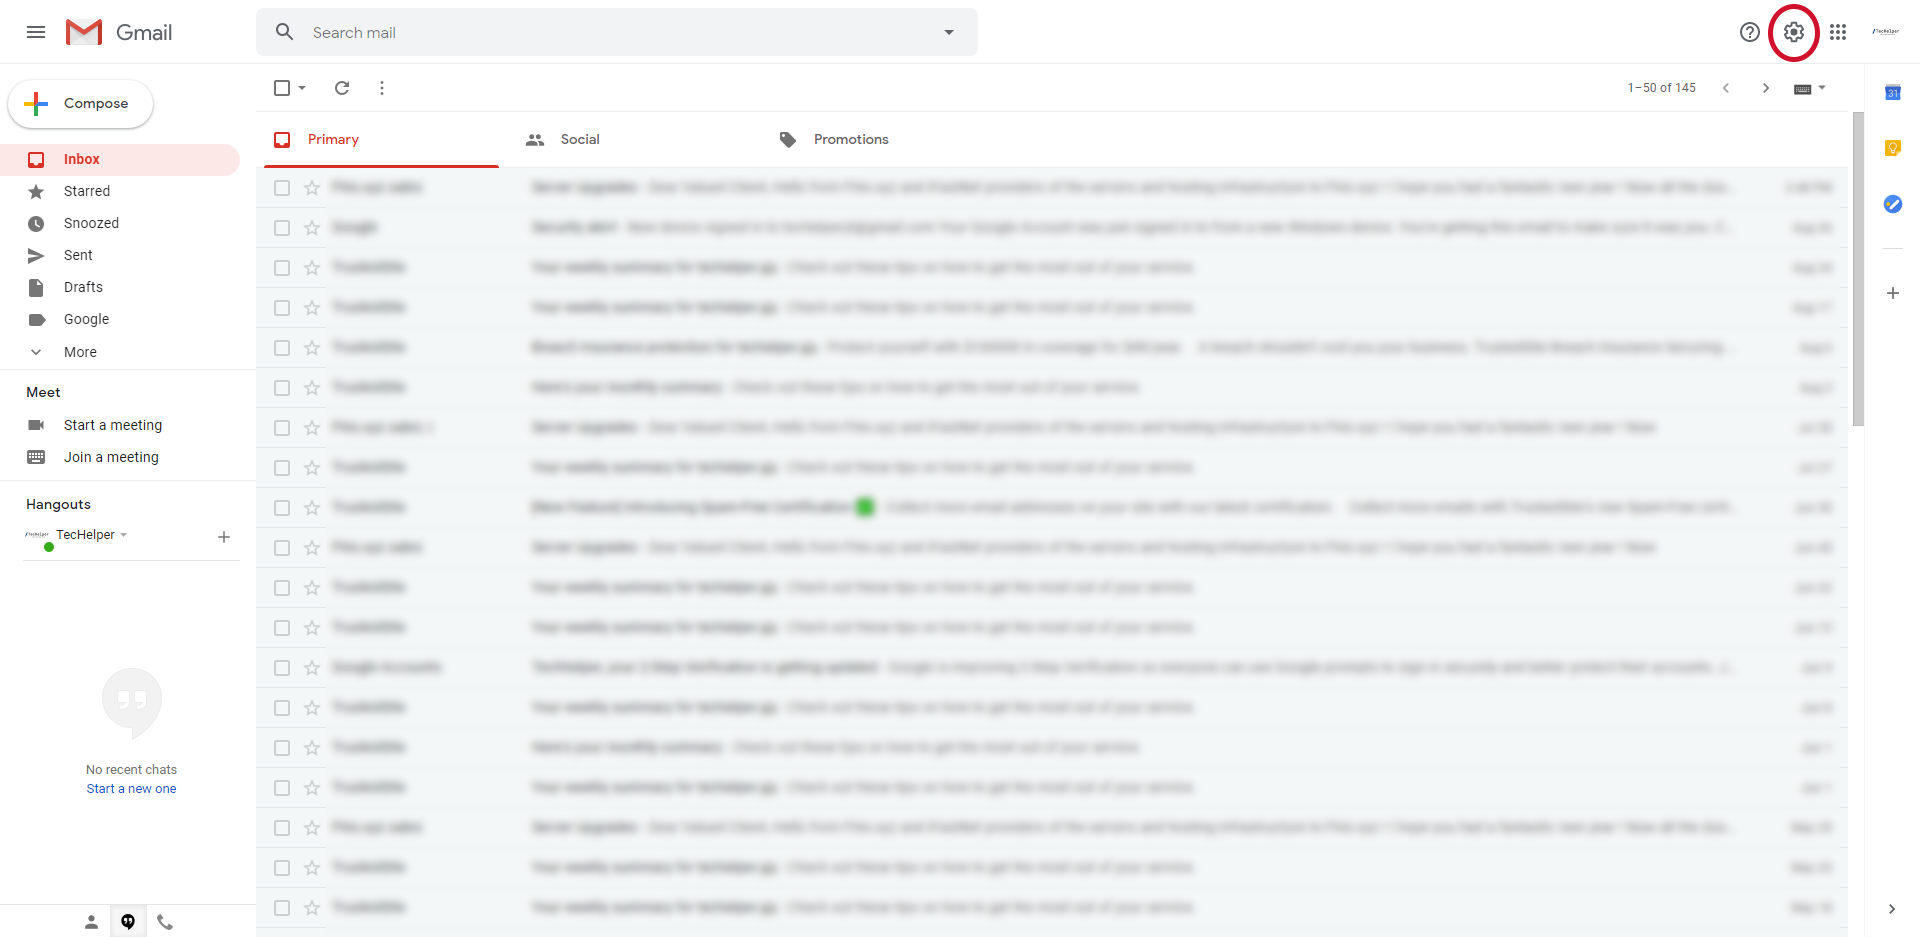
- Open Gmail and click on the gear icon in the upper right corner.
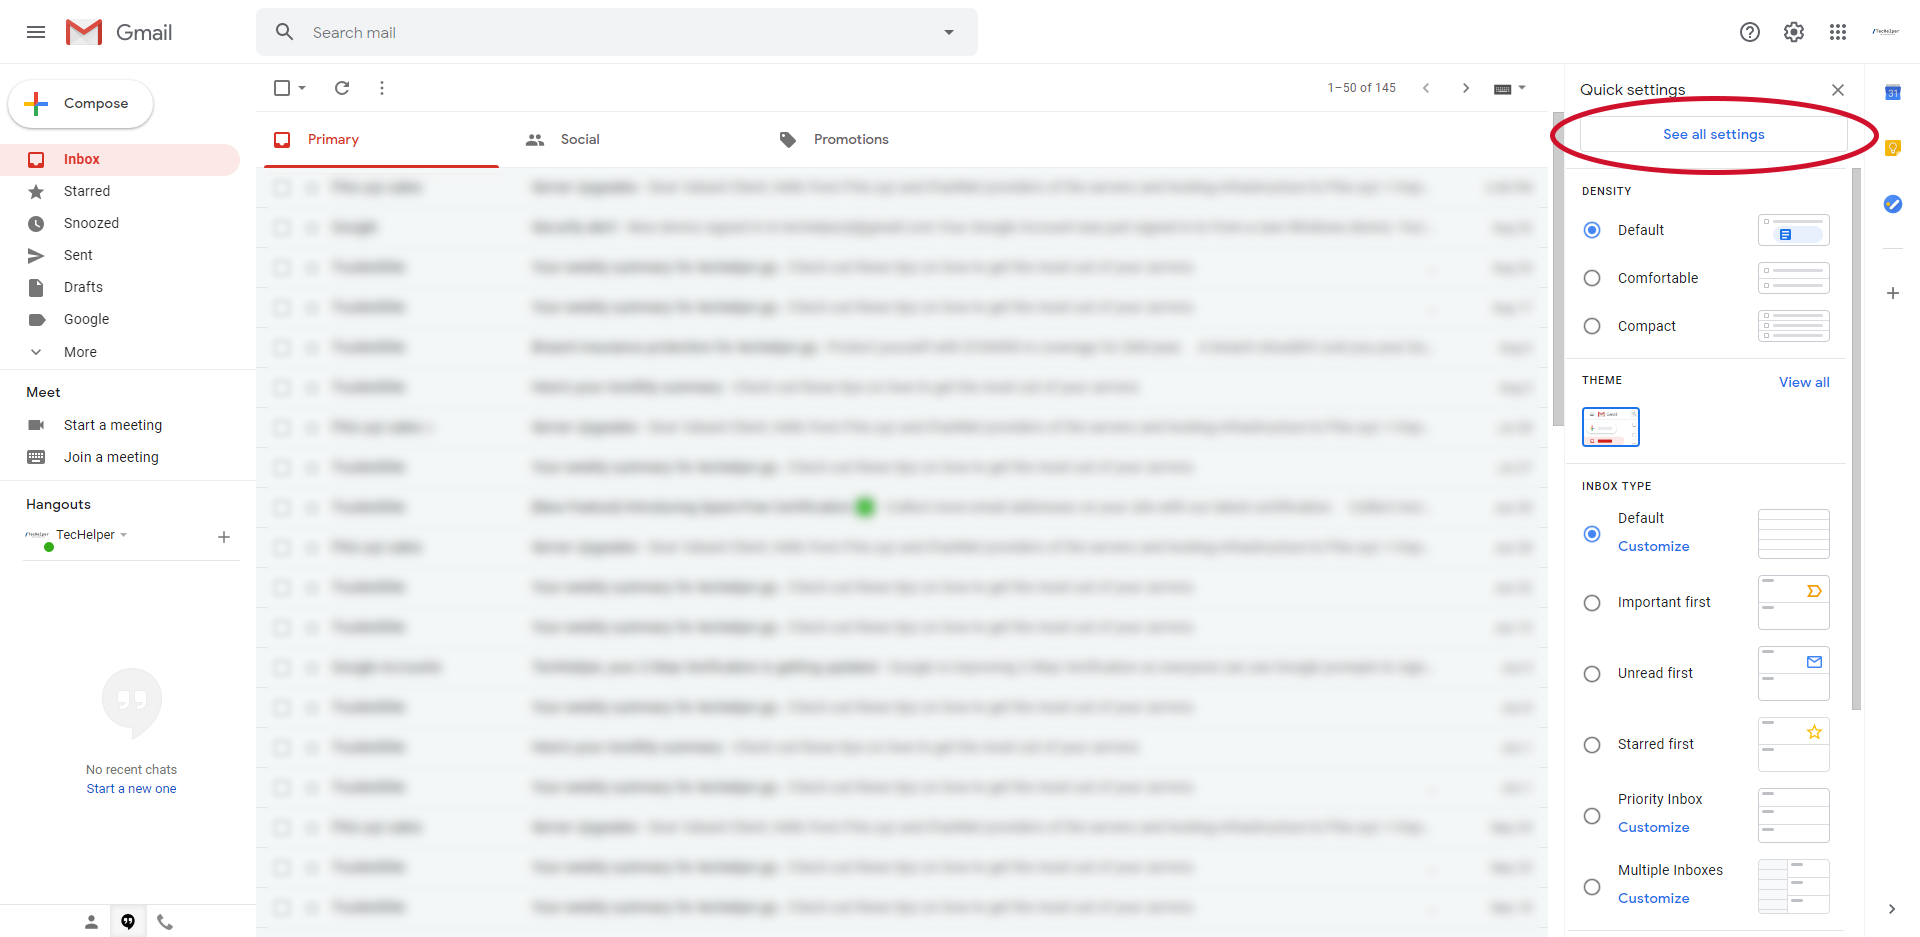
- In the Quick Settings menu, click on the “See all settings” button.
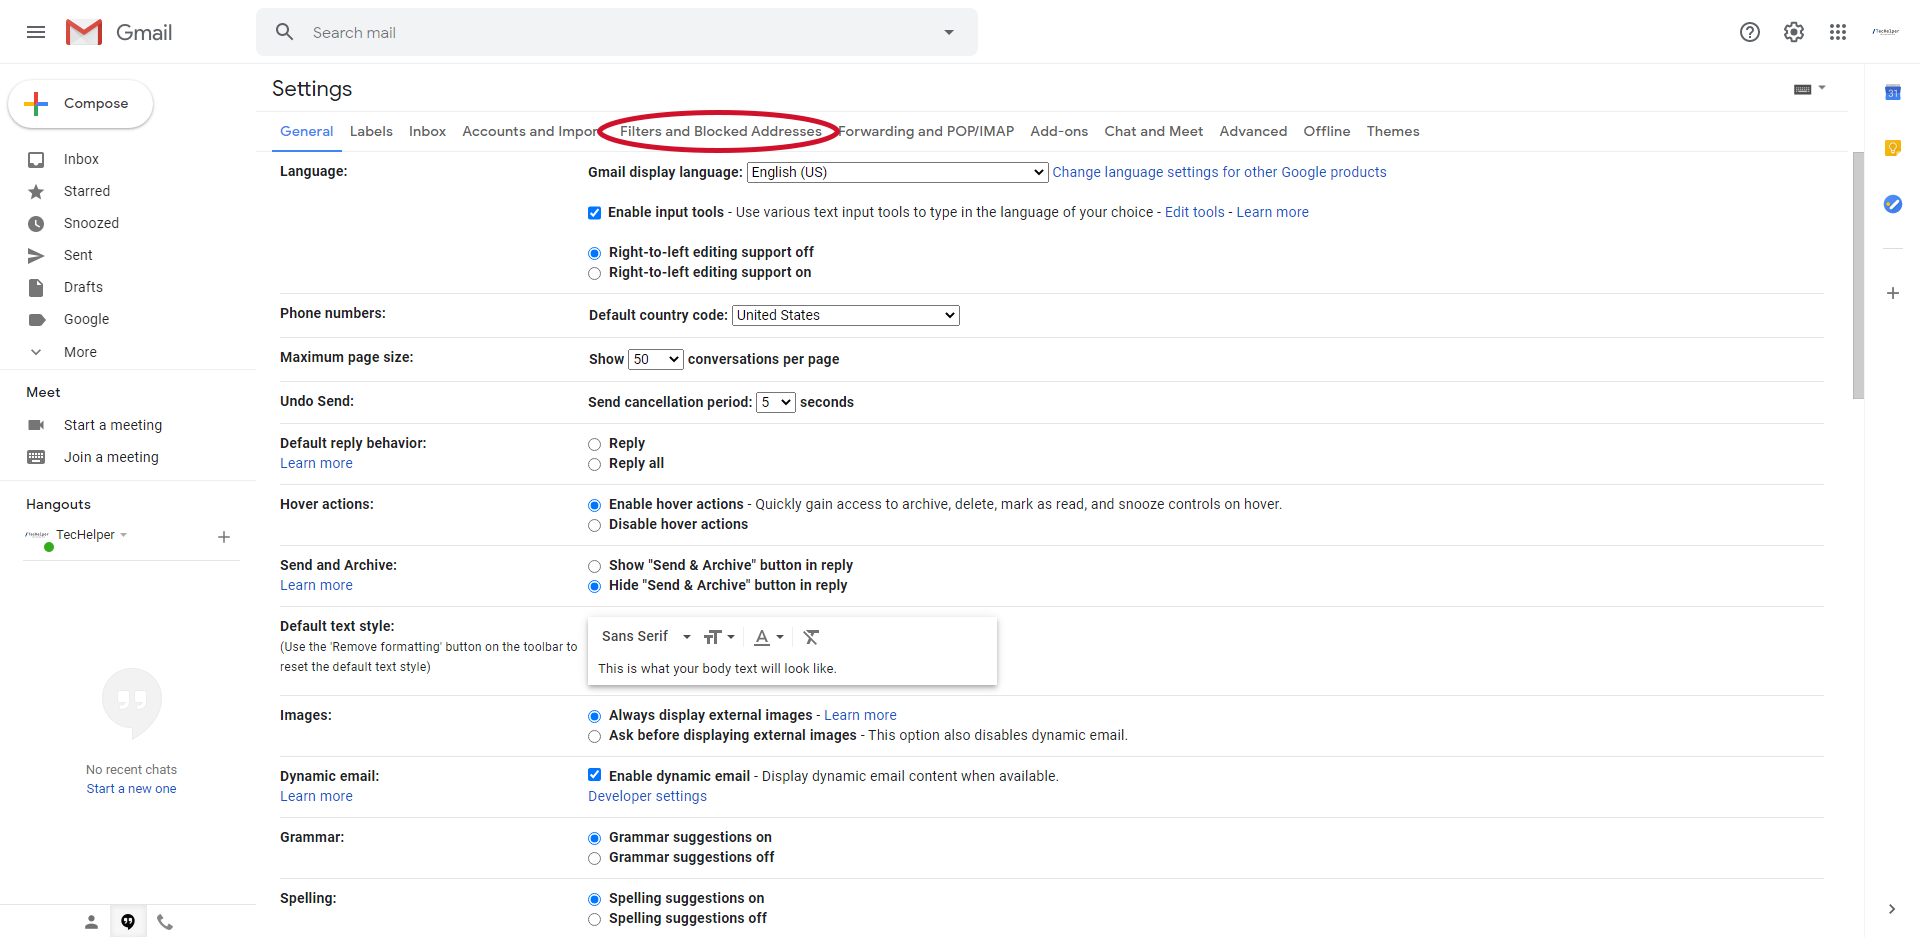
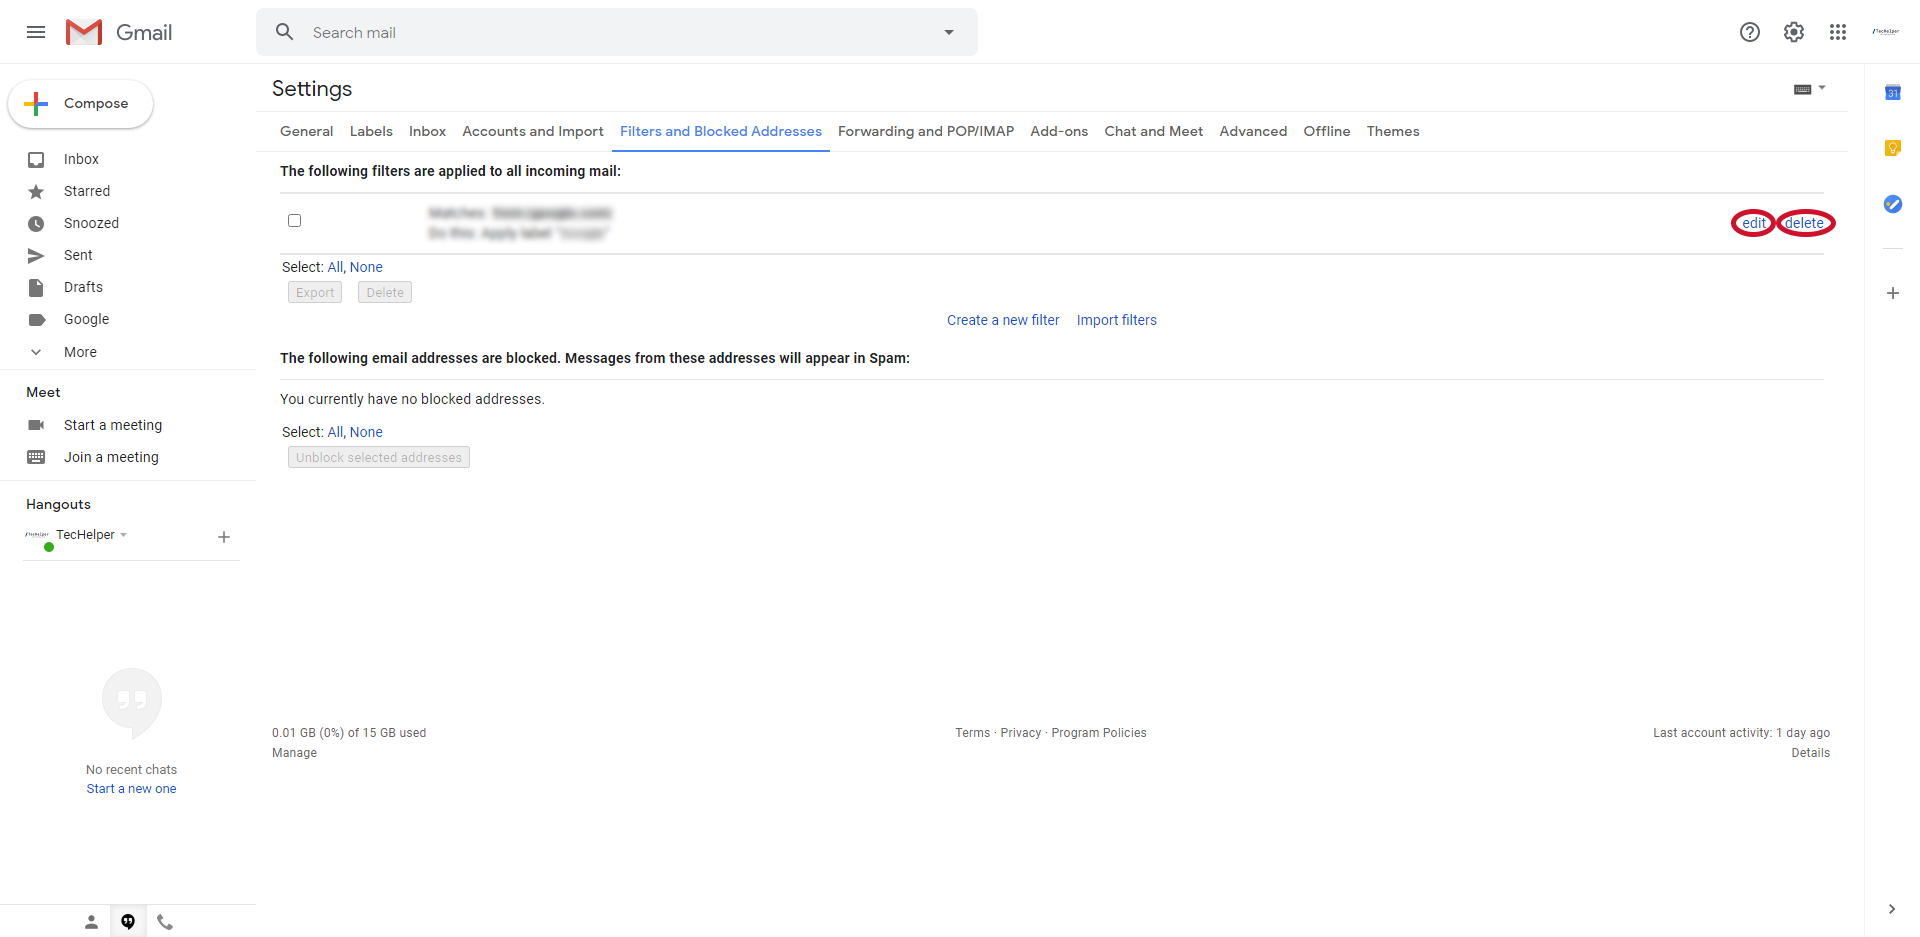
- In Settings, click on the “Filters and Blocked Addresses” tab.
- Click on the “edit” button to edit and on the “delete” button to delete the filter.
- Editing the Filter
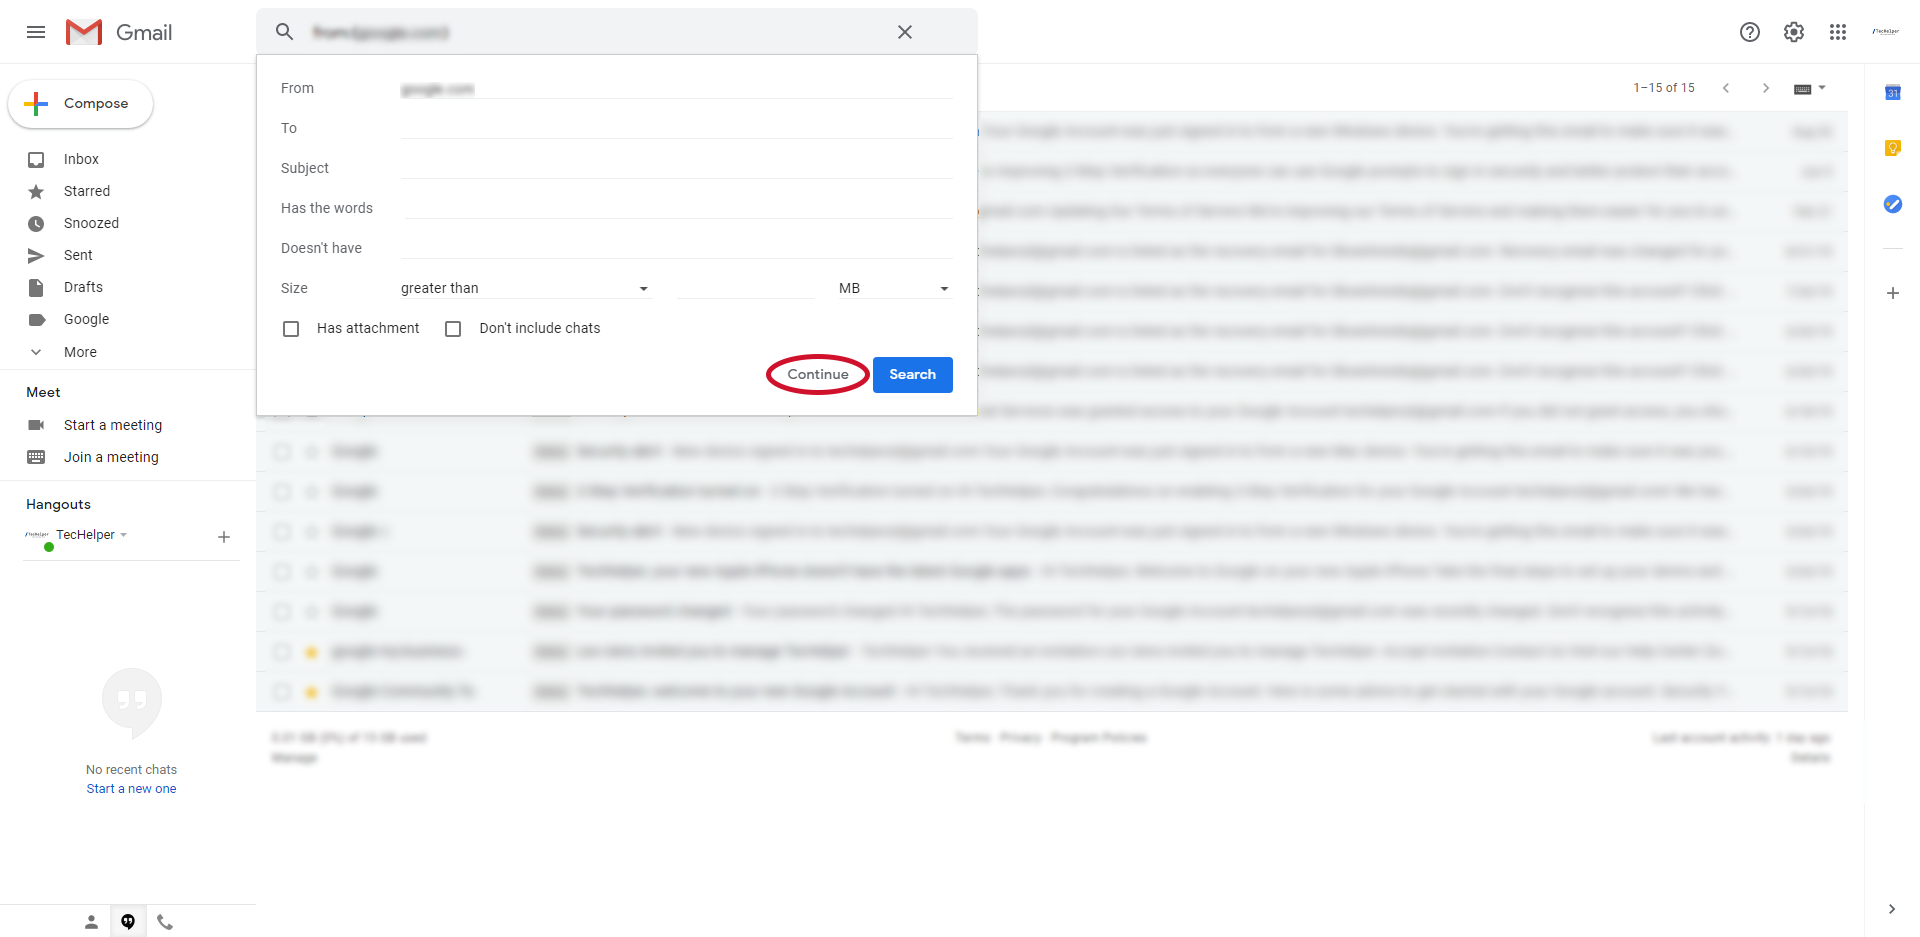
- Modify the criteria for the filter. Once you are done, or if you do not need to change anything, click “Continue”
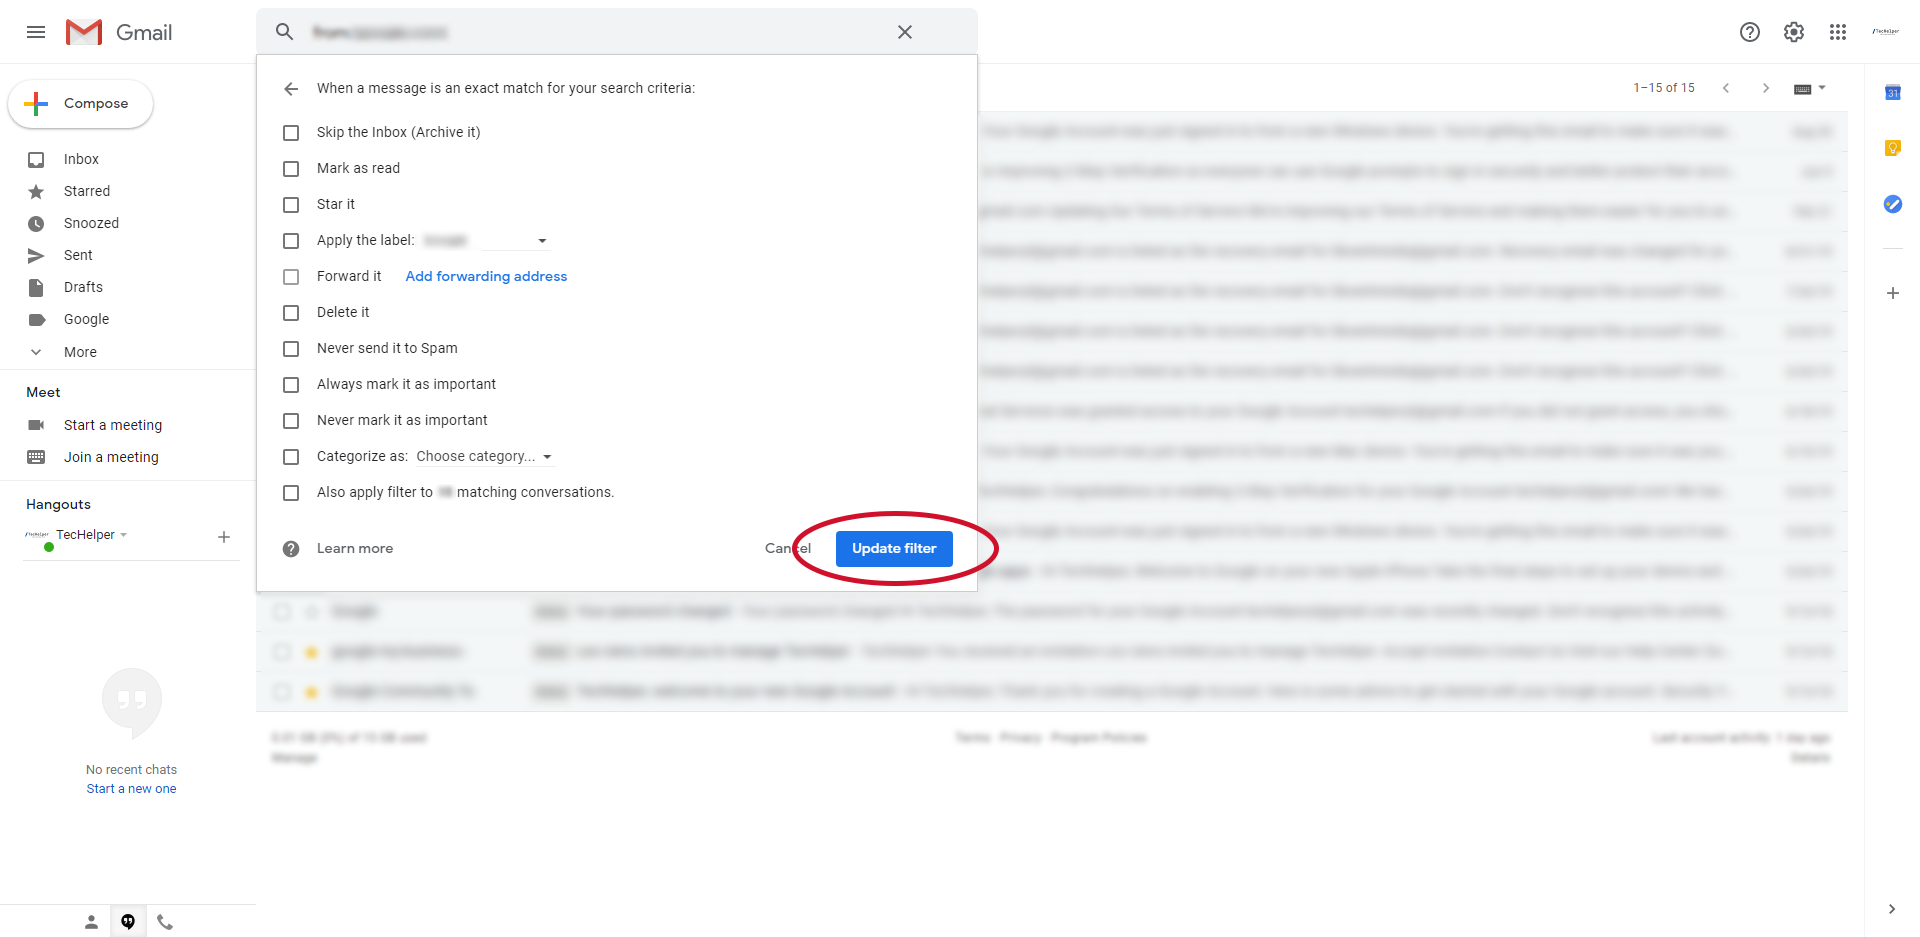
- Modify the actions that you want the filter to take. Once you are done, or if you do not need to change anything, click “Update filter”
- The filter should be updated.

- Modify the criteria for the filter. Once you are done, or if you do not need to change anything, click “Continue”
- Deleting the Filter
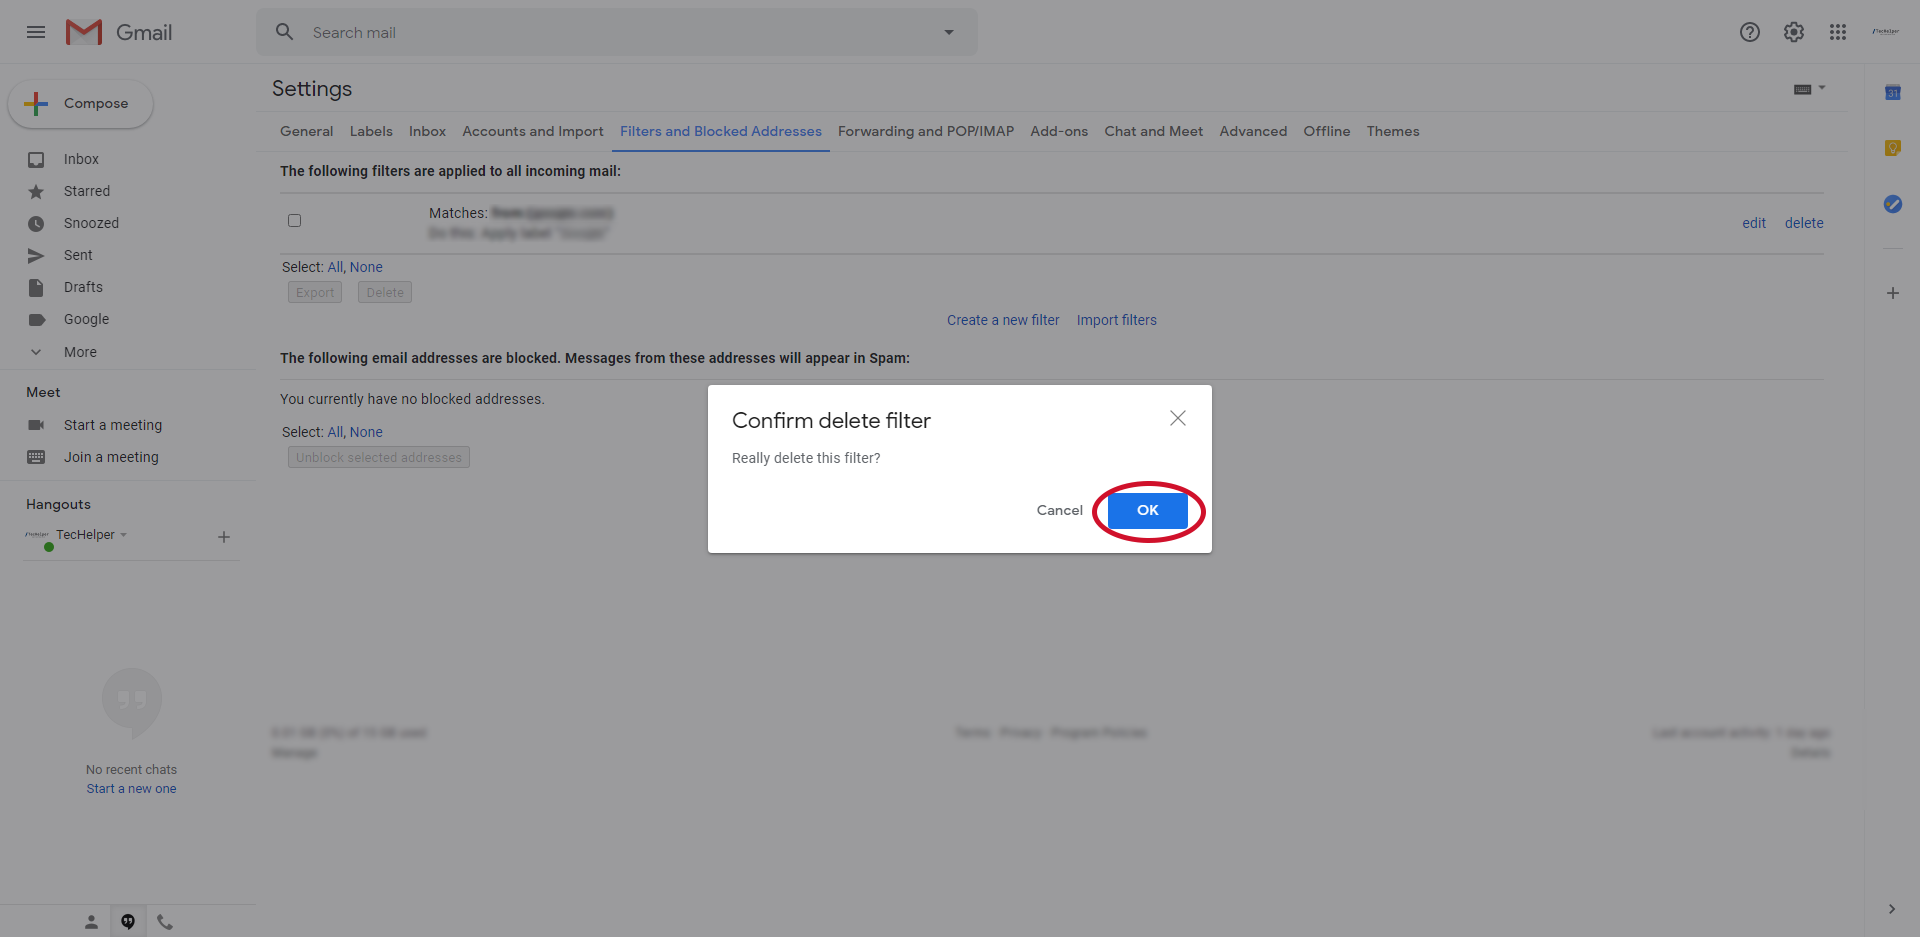
- Click “OK” to confirm deleting the filter.
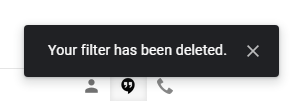
- The filter should be deleted.
- Click “OK” to confirm deleting the filter.
- Editing the Filter

