Signatures in emails automatically adds a preset piece of information, like your name, address and contact info, at the end of emails. Like signatures in real life, they add professionalism to the conversation and is readily used and expected to be used in business or professional settings.
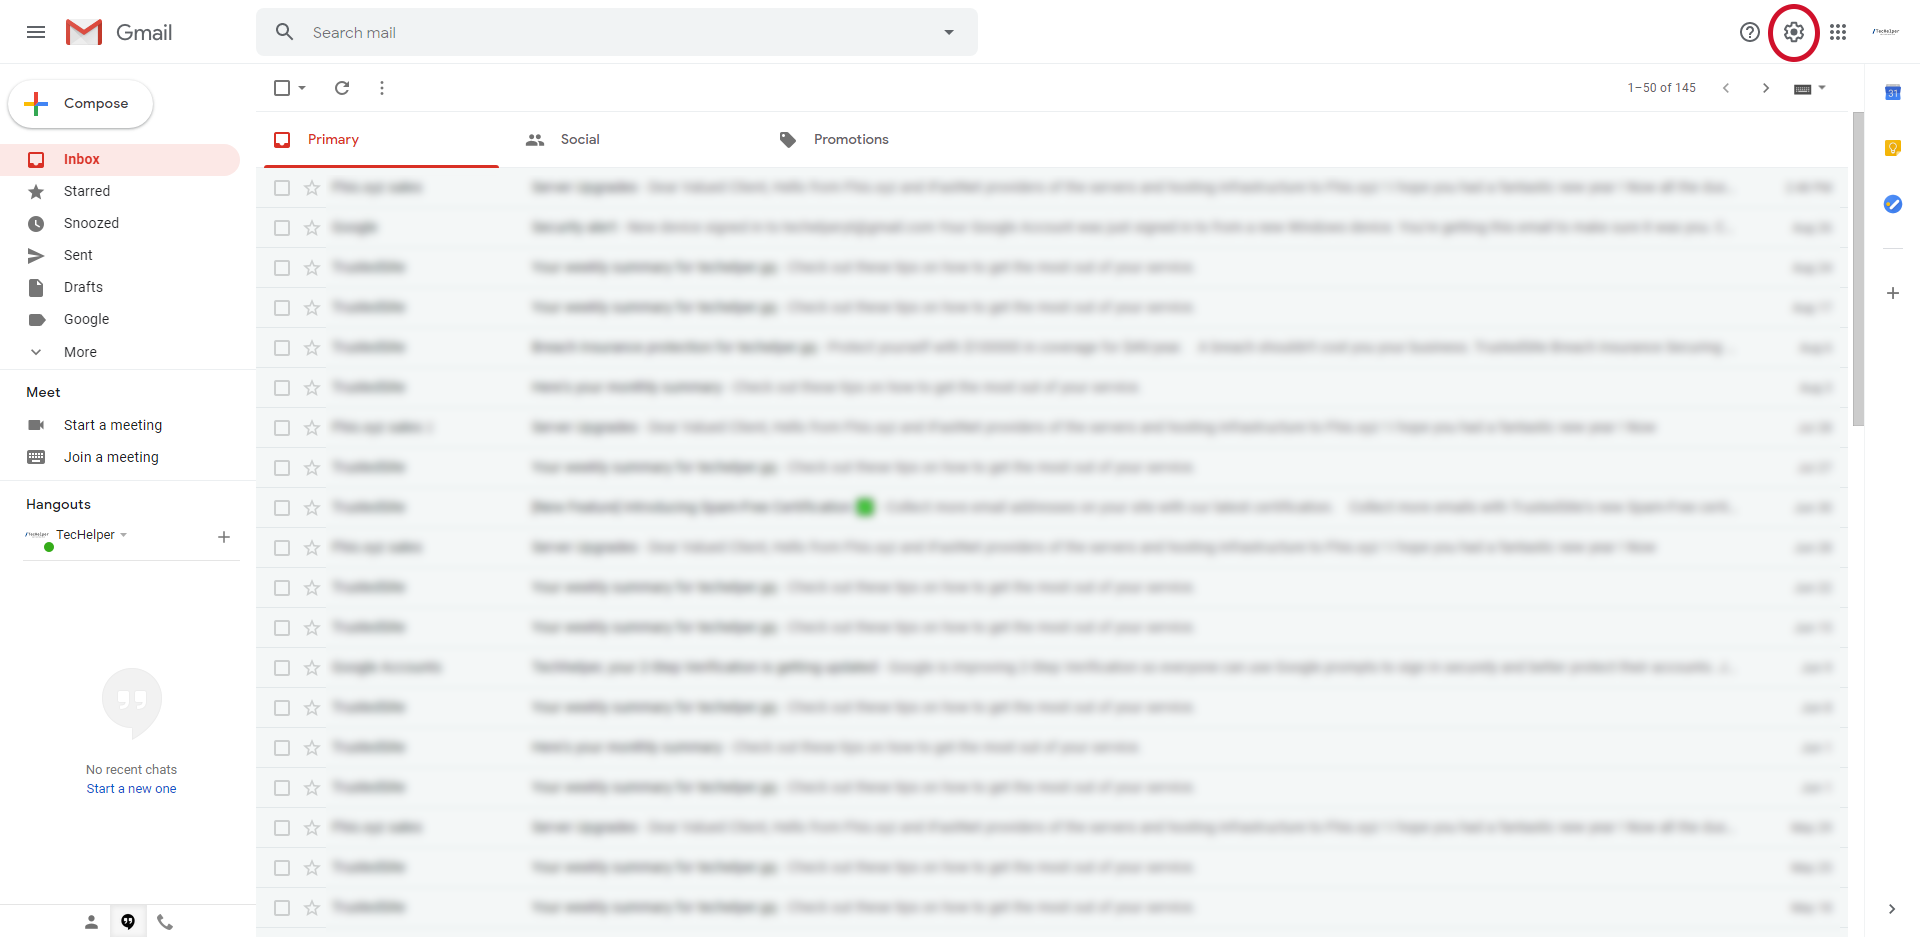
- Open Gmail and click the gear icon in the upper right corner.
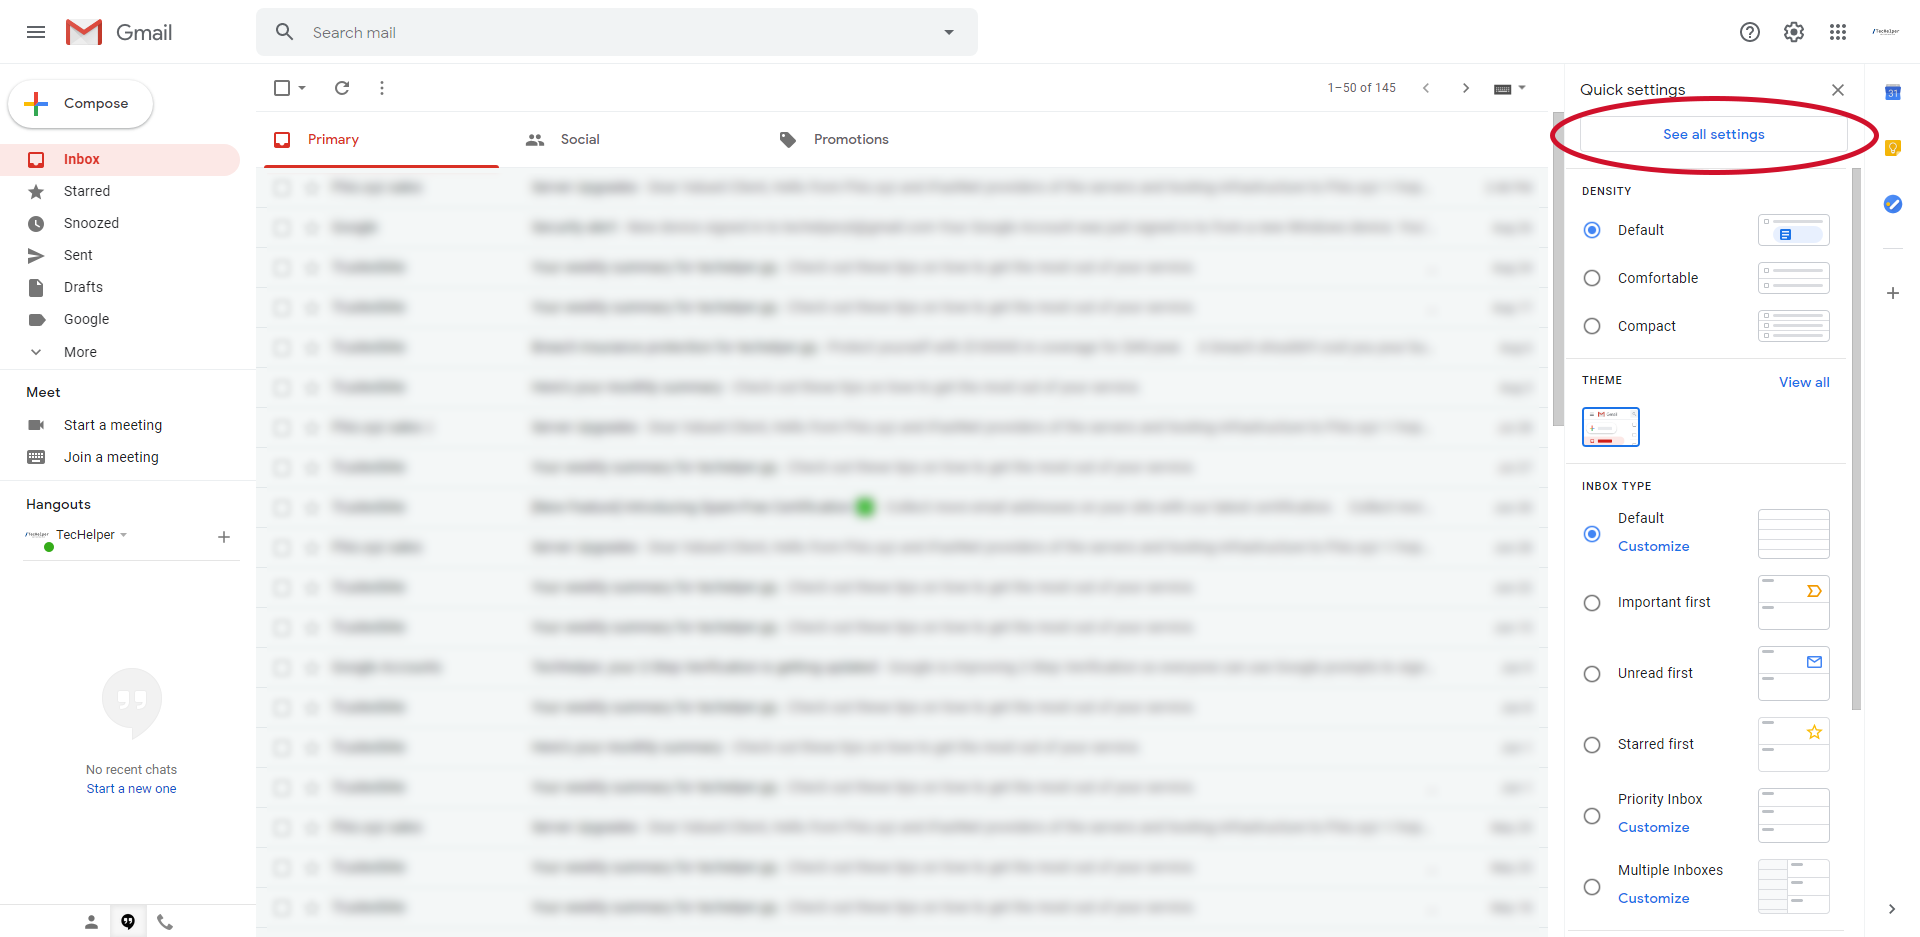
- In Quick Settings, click the “See all settings” button.
- In General Settings, scroll down to the bottom of the page.
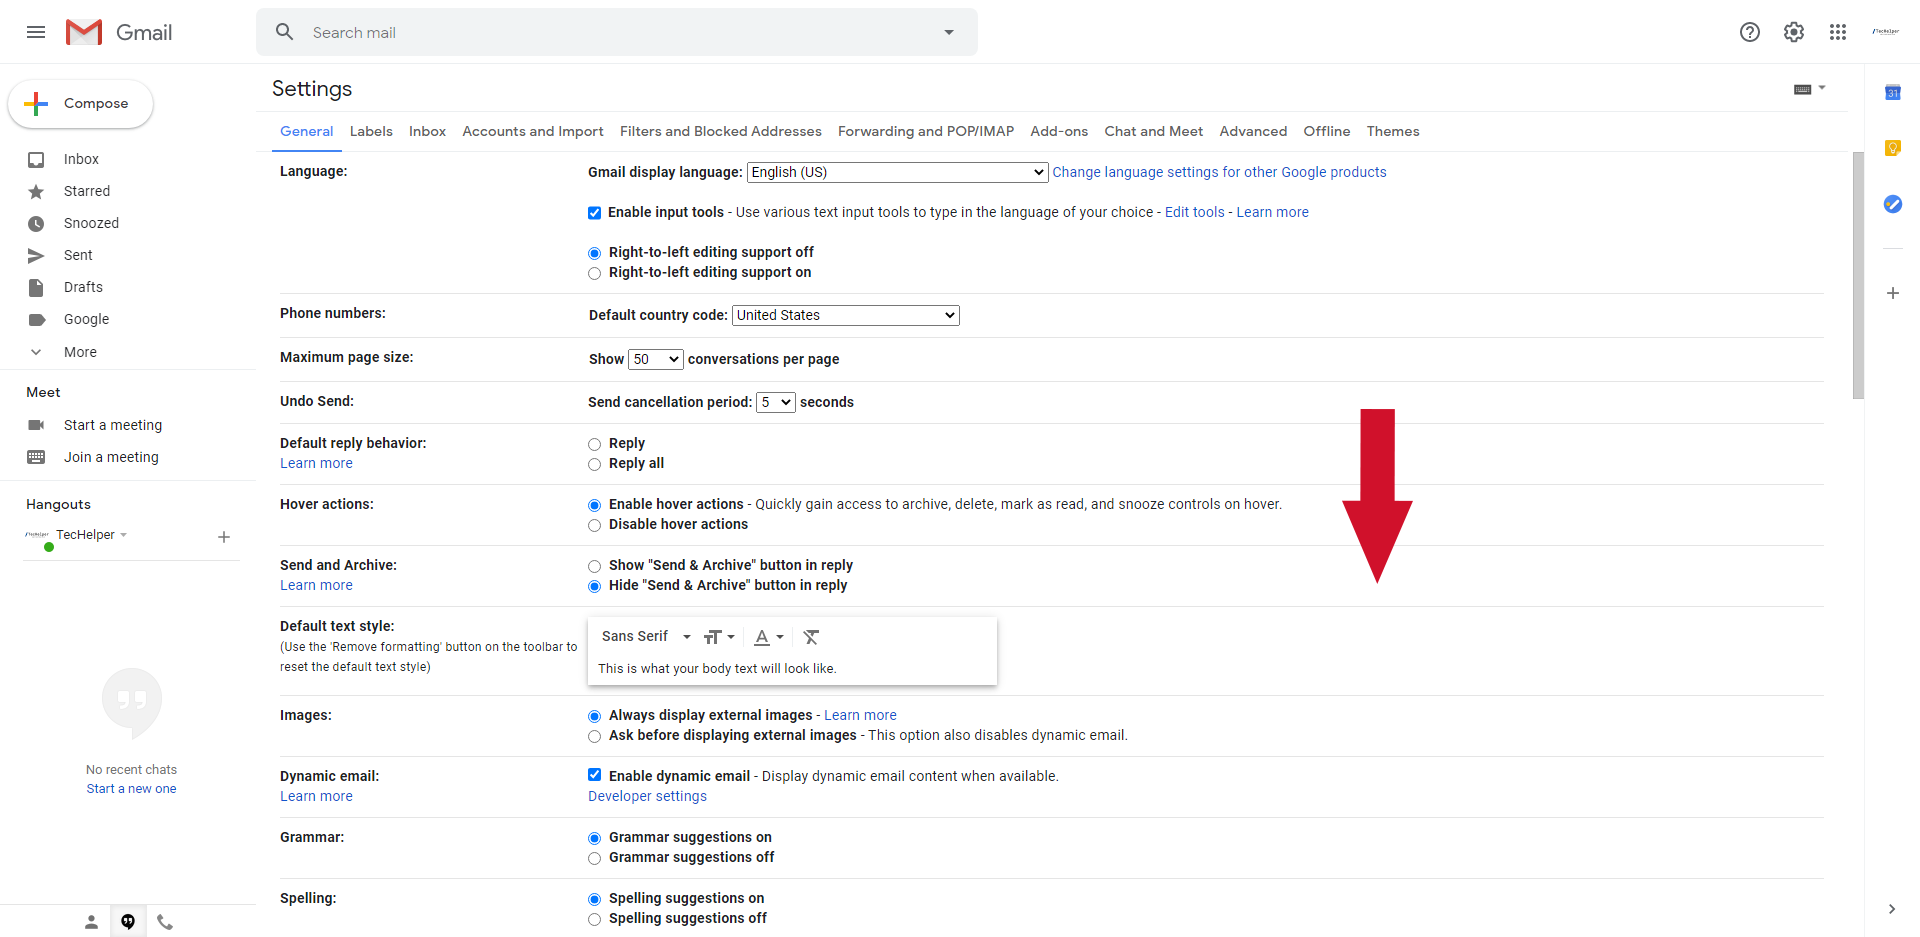
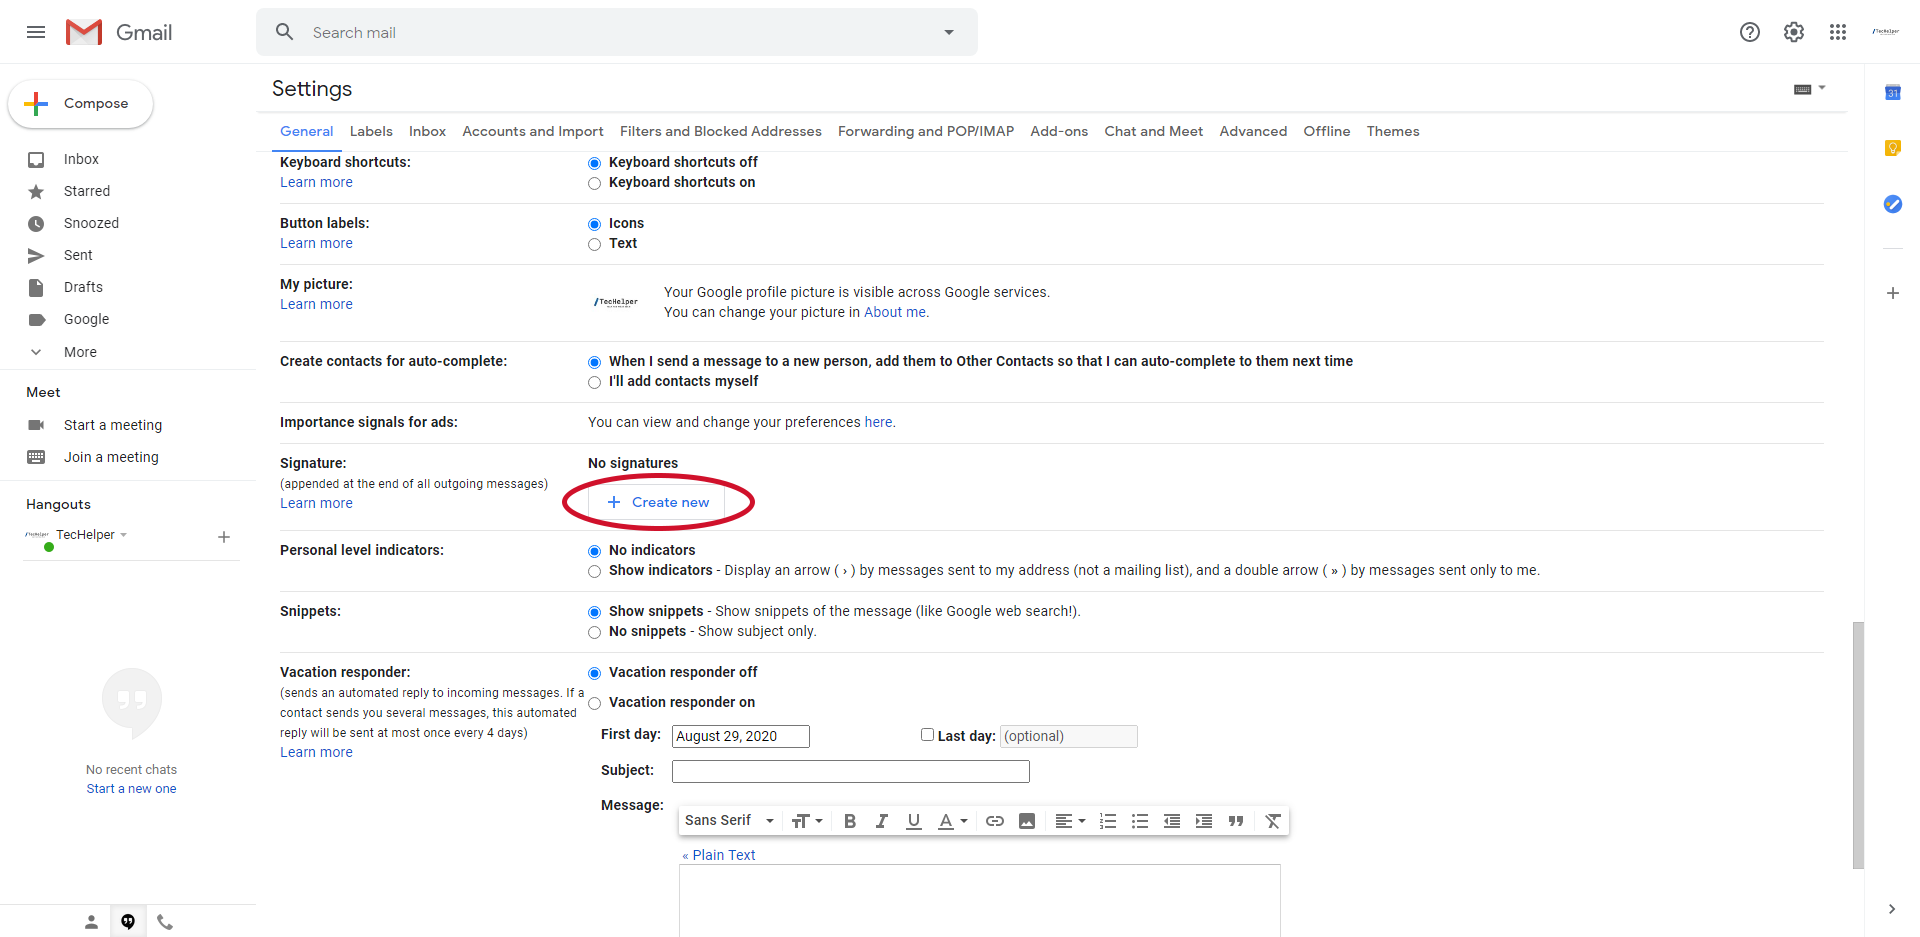
- Under the Signature section, click on the “Create new” button.
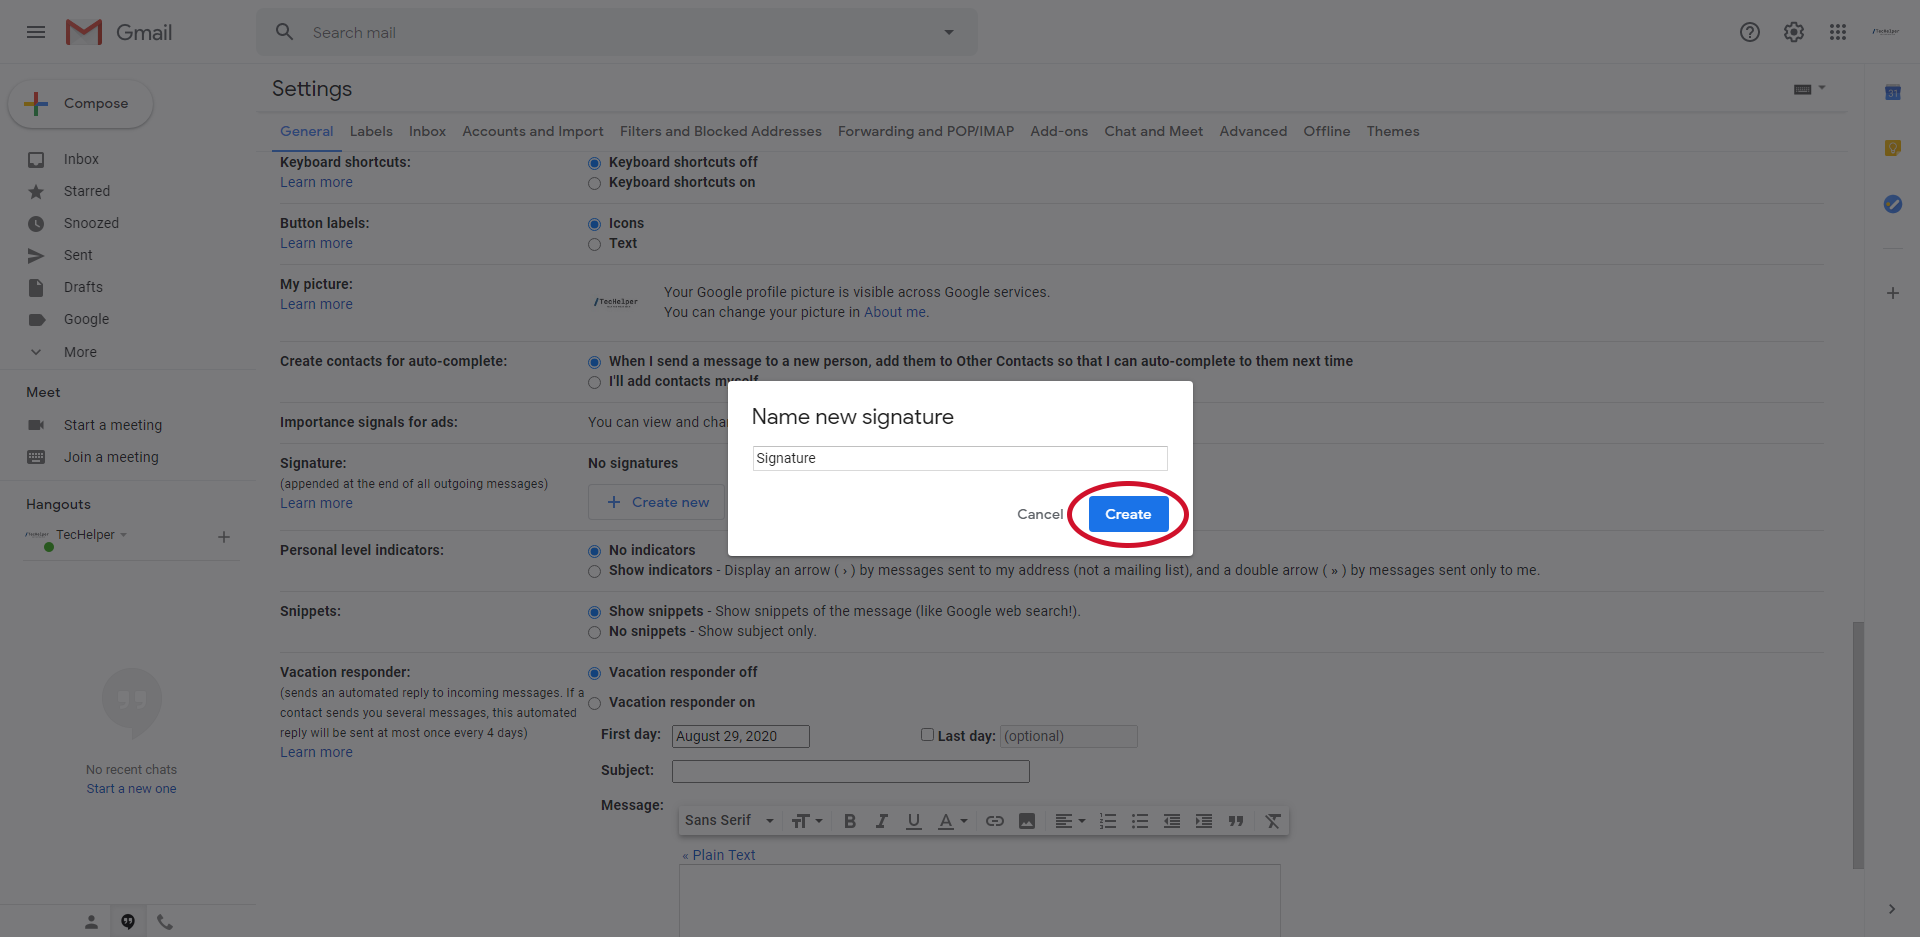
- In the pop-up box, enter the name of your new signature. Once done, click “Create”.
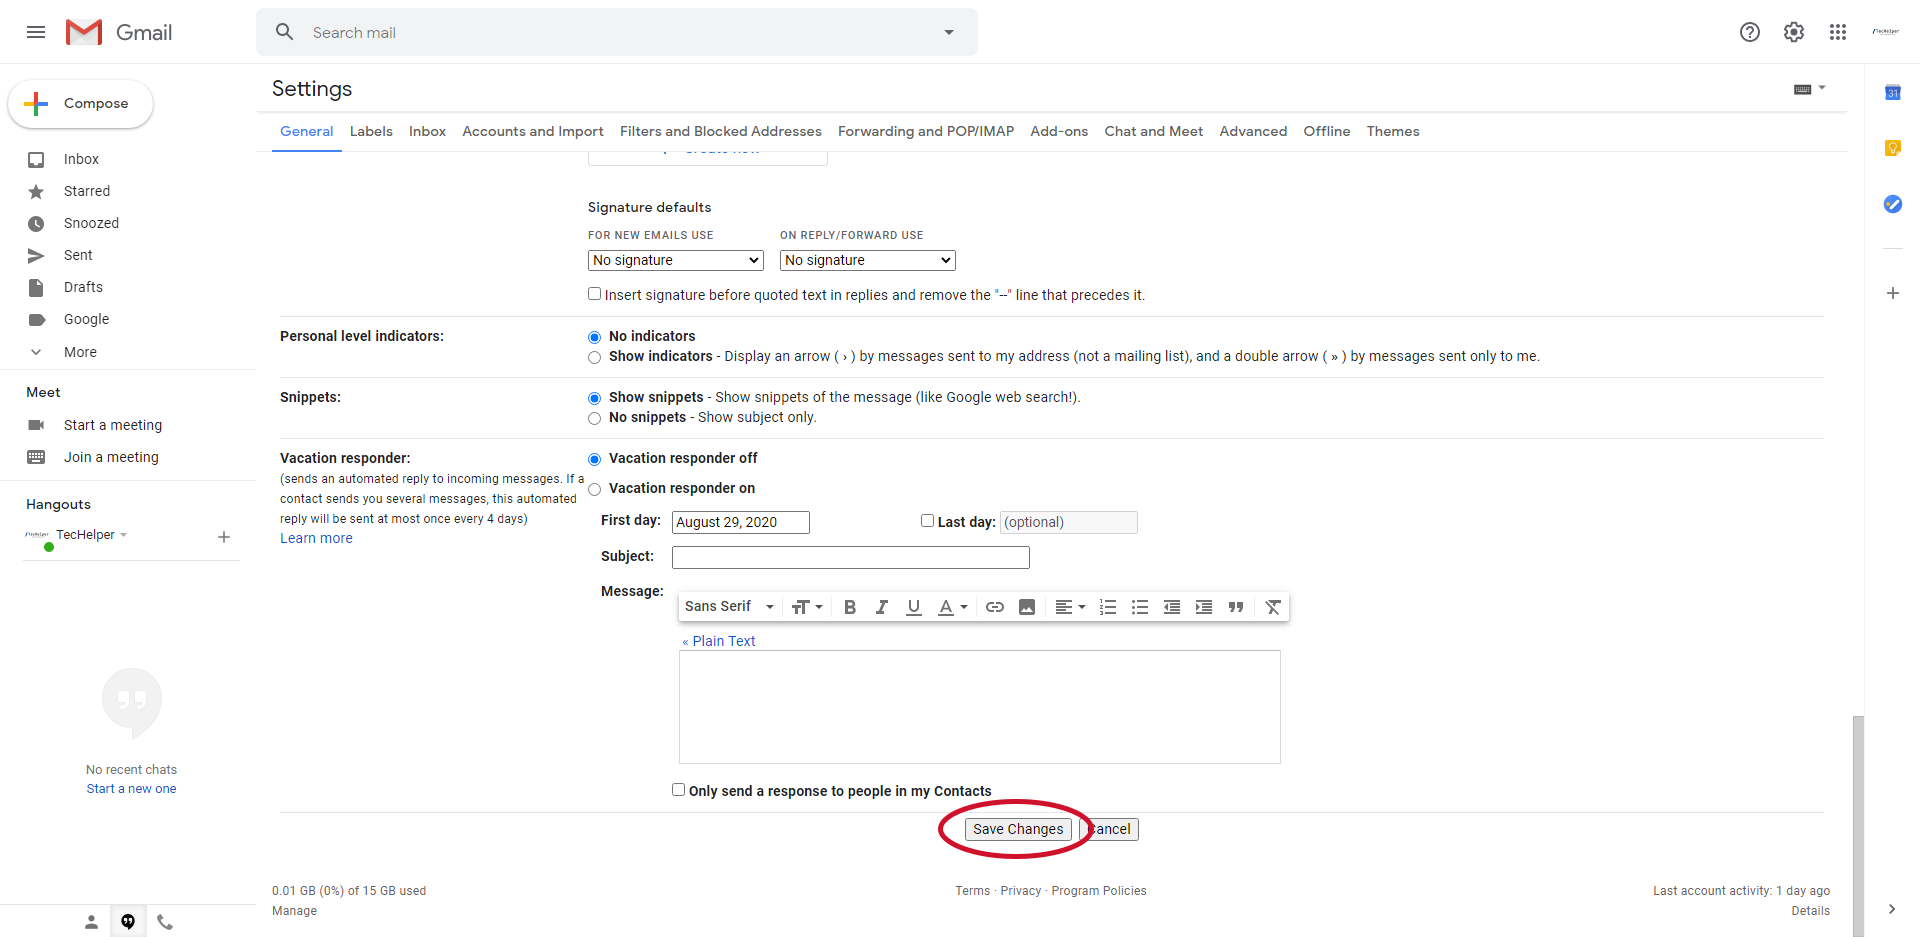
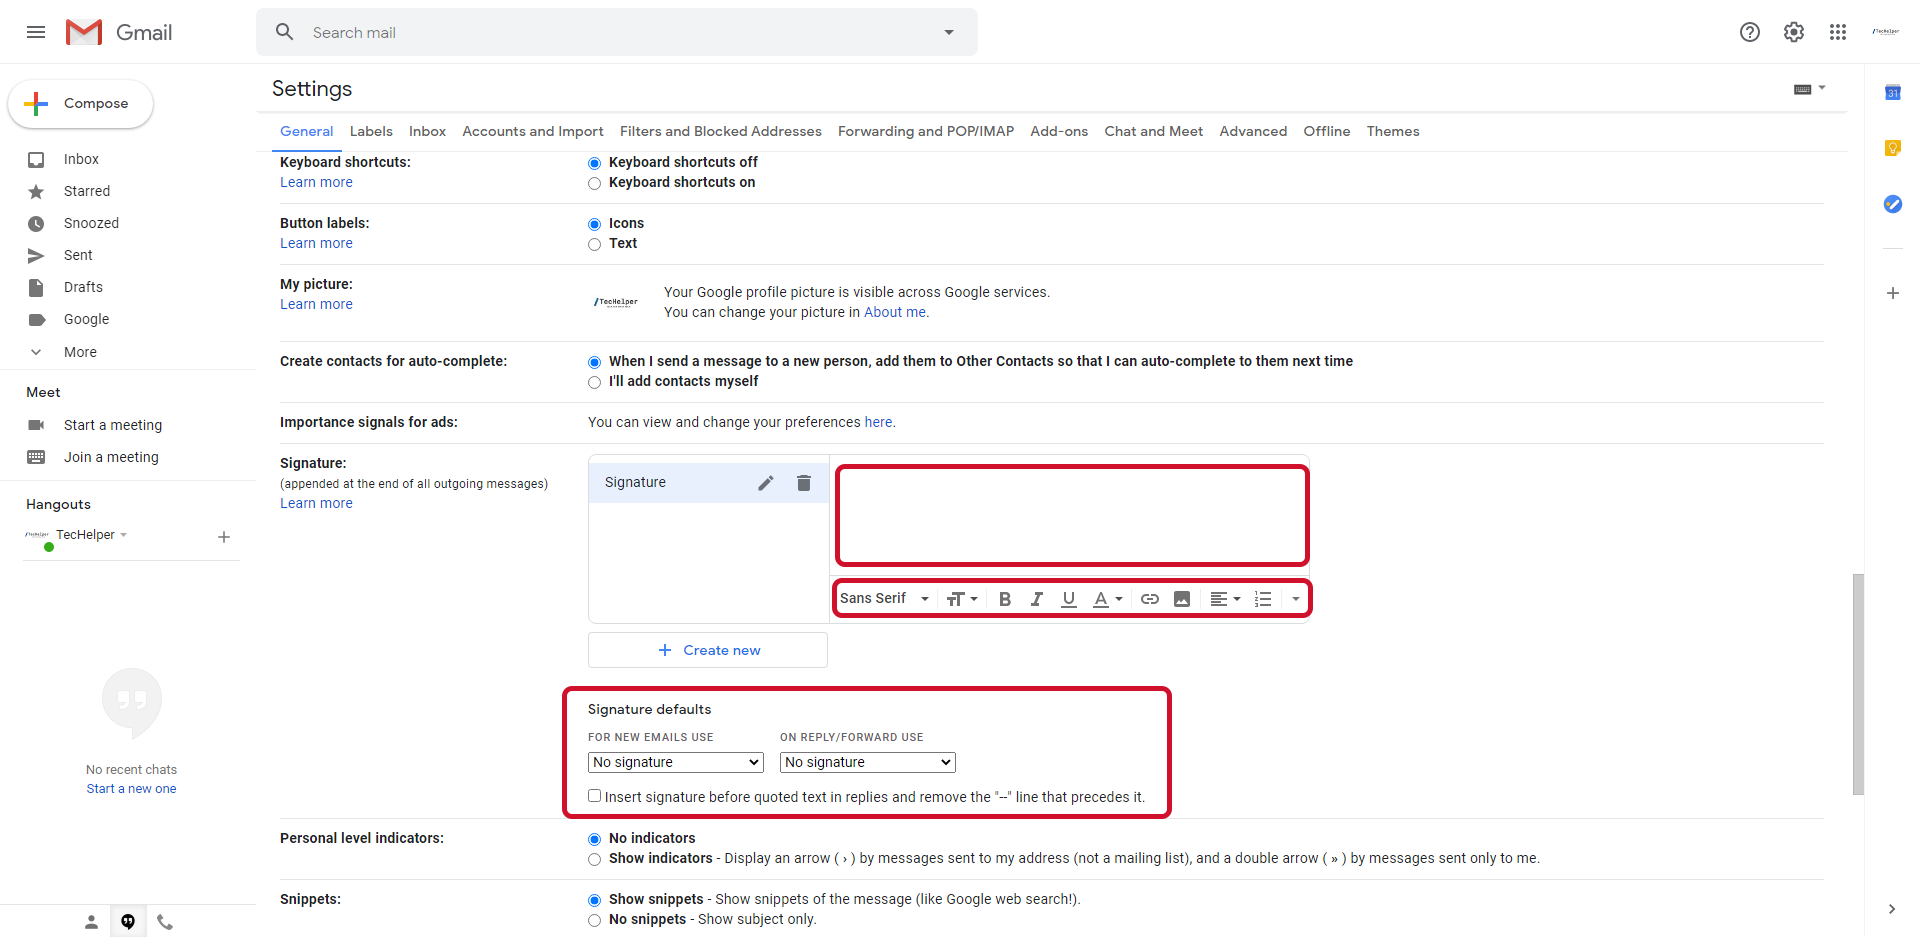
- In the blank box that appears, enter the message for the signature. Modify the style and add images by using the formatting bar below the text box. Then, modify the settings for the signature, including when it should be used.
- Once finished with the signature, scroll down and click on the “Save Changes” button.