The release of iOS 13 added support for connection to external network-attached storage media. This added support for devices to connect to a NAS server or other file servers on a network, making it easier for local file sharing.
Step 1: Open the Files app on your iPhone.
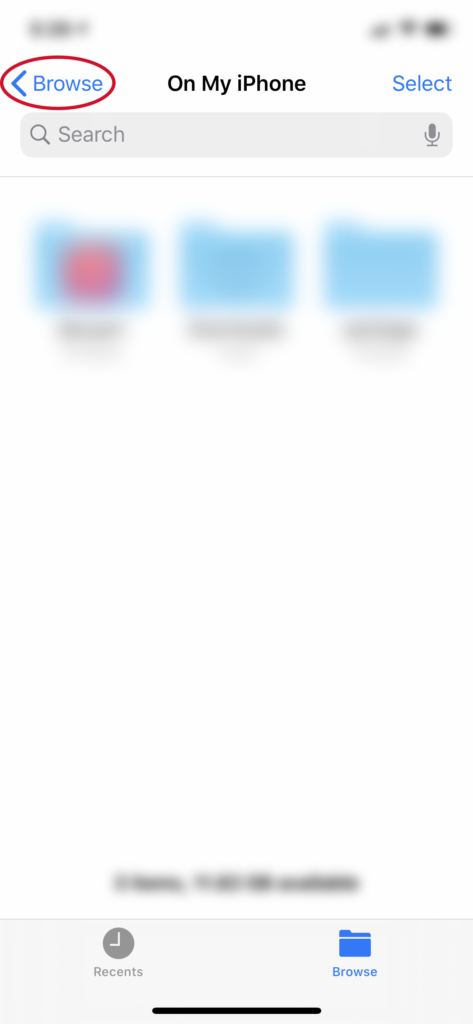
Step 2: Click on the “Browse” button.
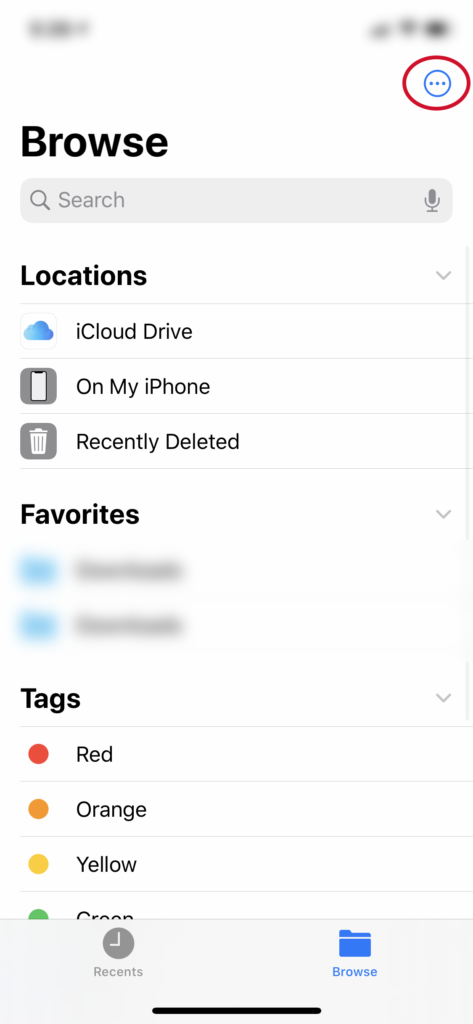
Step 3: Click on the button with the three dots, found near the upper right corner.
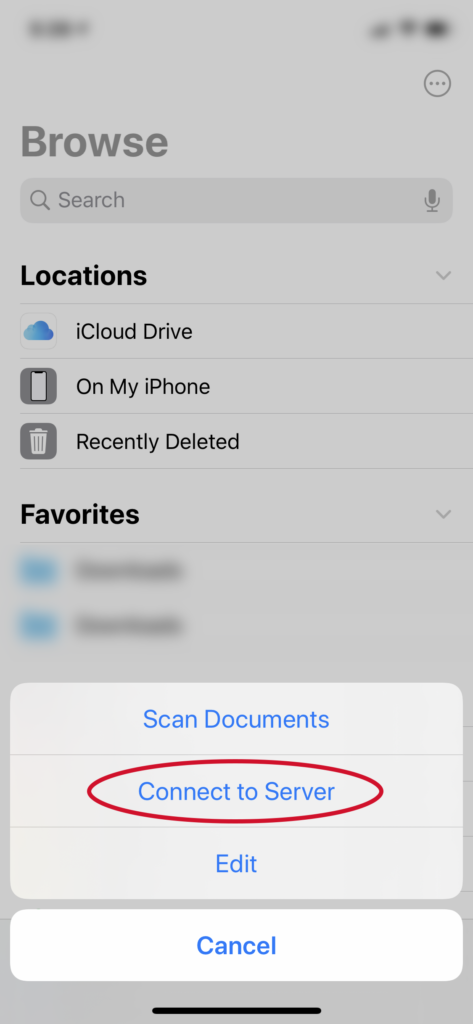
Step 4: Click on the “Connect to Server” option.
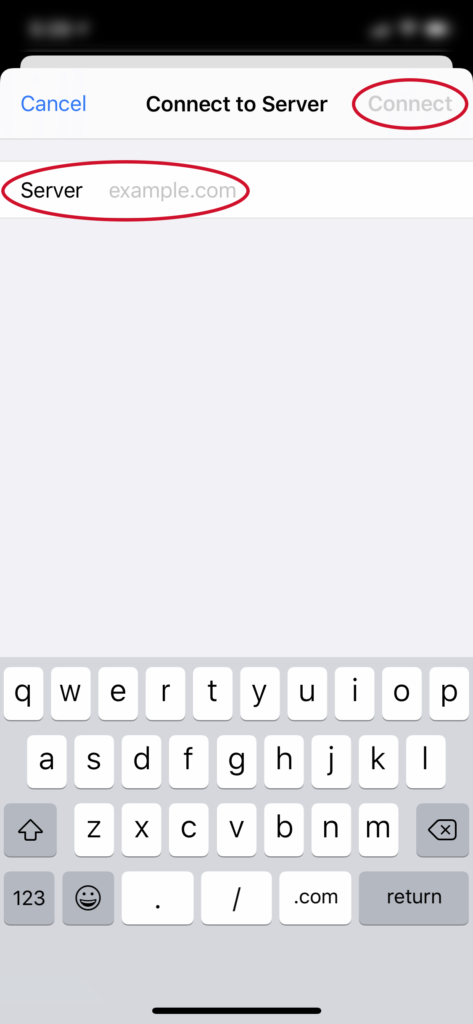
Step 5: Enter the address of file server and click “Connect”.
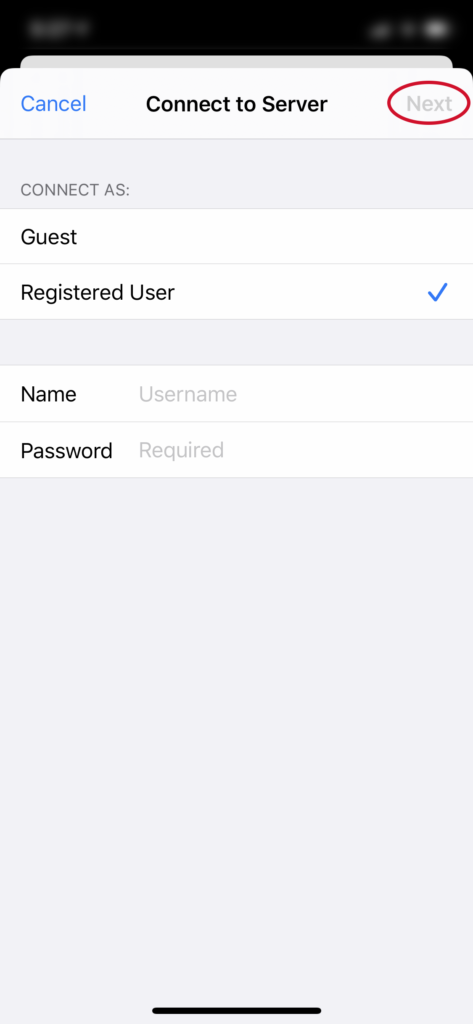
Step 6: Select the mode to sign in with (Guest or Registered User) and enter login details if applicable.
Step 7: Select the server volume or shared folder in the “Browse” sidebar.